This document offers information on what the planner is, its advantages and disadvantages, and how to use it.
Contents:
What is the Planner?
The Planner is a semester by semester listing of courses you plan to take before you graduate. It allows you, with the help of your adviser, to look ahead and plan out your course of study.
What are the advantages of using the Planner rather than writing courses on a piece of paper?
The primary advantage is that the CampS Planner can be reviewed each semester by you and your adviser. Other advantages include:
- It indicates whether a course has a prerequisite, although it does not let you know whether you have met the prerequisite -- for that you have to wait until you put it in the shopping cart and click Validate.
- You can move courses from semester to semester easily.
- It is a way of keeping track of the courses you planned to take, so your adviser can look to see if you were successful in getting those courses.
What are the disadvantages/warnings?
There is no guarantee that the courses will be offered the semester you want them. While the Catalog will indicate when the courses are typically offered, circumstances could change that.
There is also no guarantee that you will get into the class when you plan to take it.
You should always plan your future courses in consultation with an adviser and remember that the University catalog is the official record of requirements for your degree. Use your degree audit as a tool to see what requirements you have fulfilled and what you have left to fulfill. Final confirmation of degree requirements is subject to department, college, and University approval.
Instructions for Using the Planner
Adding Courses to the Planner
- Log in to CampS.
- Go to the Manage Classes tile.
- Select Planner
The My Planner screen appears.
- Click on Browse Course Catalog.
- Use the linked letters to navigate to the course type you are looking for (e.g., click E for ECON - Economics).
- Find the course you want and check the box in the Select column to the left.
HINT: You can check multiple boxes at one time.
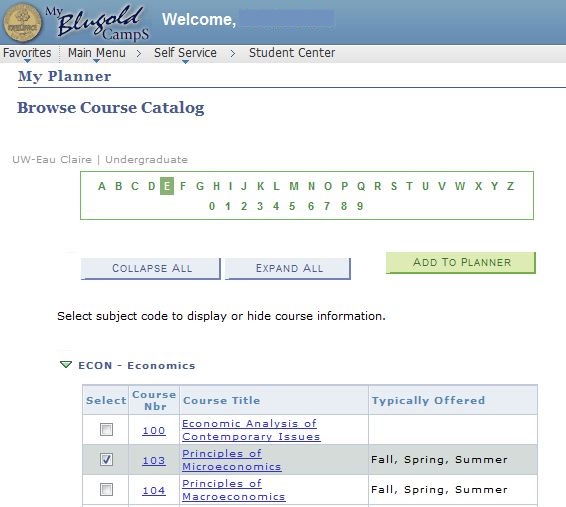
- Click Add to Planner.
Repeat as necessary. - (Optional) Click on the linked title to view a description along with prerequisites.
NOTE: You can either click Add to Planner to add the selected class to your Planner,
OR
Click Return to Browse Course Catalog to view other courses.
- When finished, select the My Planner link under the Plan tab.
HINTS: If you know you want to fulfill a particular requirement in a certain semester (e.g., social science course), but don't know which course, pick a place holder (e.g., PSYC 100) and change it later.
If you plan to study abroad one semester, you can choose the abbreviation for that program.
If you plan to do an internship, you can choose a course number for the departmental internship.
Organizing Courses in the Planner
After you have added the courses you need to your Planner, you can organize the courses by the semester you would like to take them.
NOTE: My Planner is meant to be used as a resource for planning your academic schedule; courses can be added regardless of prerequisites, and spots are not guaranteed to students who have placed the course in their planner.
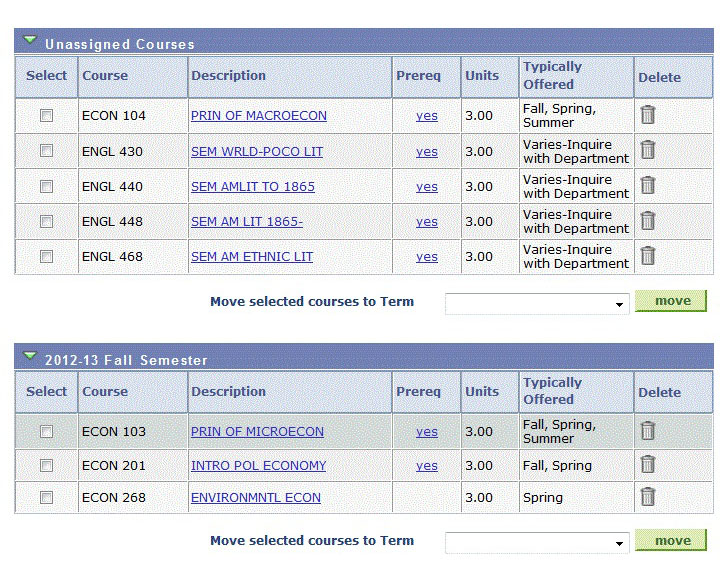
To move courses to a future academic semester,
- Select the course(s) by checking them in the Select column to the left of the course.
- Next to Move Selected Courses to Term, click the pull-down menu.
- Select the academic semester you would like to place the courses in.
- Click Move.
The courses will be moved from the Unassigned Courses portion of My Planner to the selected academic semester.
NOTE: You can move classes multiple times from different academic semesters as needed.