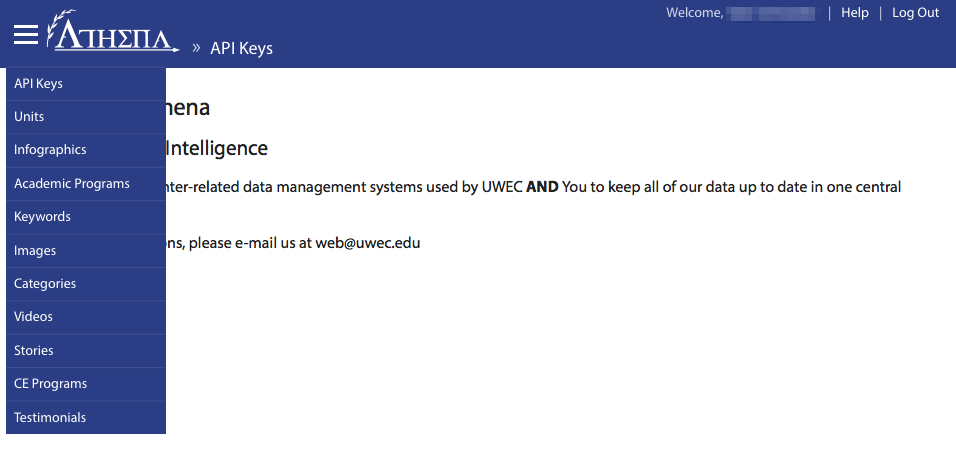
- Log in to Athena
- Select CE Programs from the navigation menu.

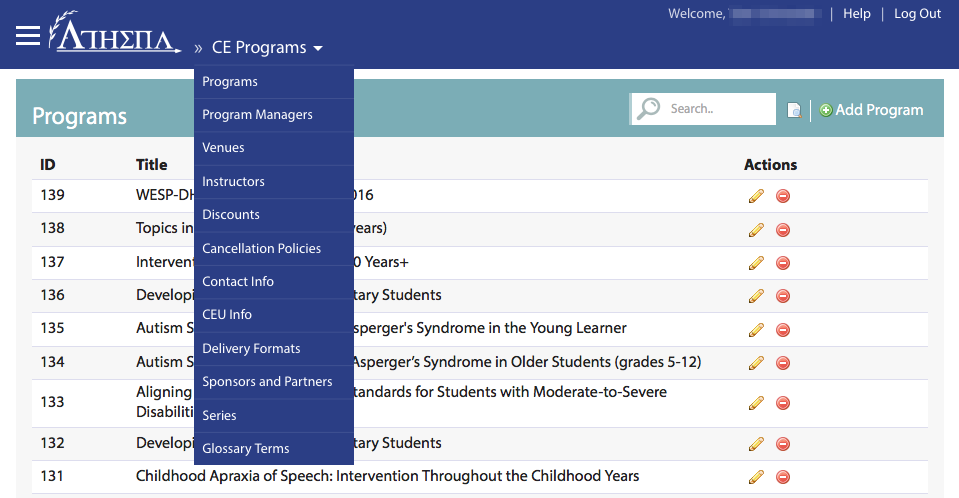
- Select Venues from the sub-navigation menu.

- Click Add Venue at the top.

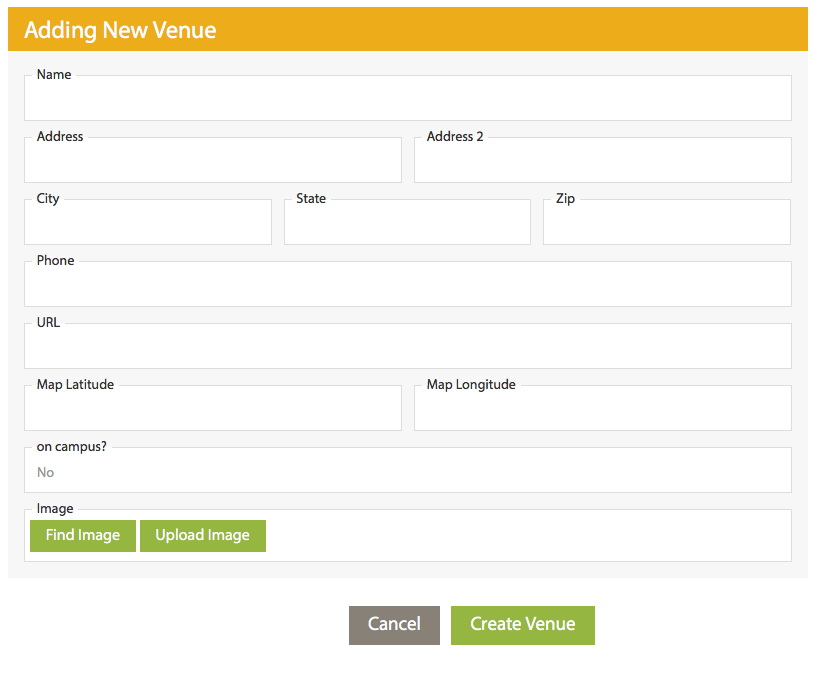
- Add a useful name for the venue. This will show in Athena systems’ search results and will be displayed publicly in certain cases.
NOTE: For locations with multiple sub-locations (i.e. campus buildings), use a colon to separate the two (e.g. UW-Eau Claire Campus: Hibbard Hall).

- Fill in the Address, Address 2 (where applicable), City, State, and Zip fields. For example:

NOTE: Avoid abbreviations in addresses (e.g. Avenue instead of Ave., etc.).
- Fill in the Phone field. Athena will automatically add proper formatting to the phone number. For example, Athena would reformat "7158364636" to "(715) 836-4636".
- Fill in the URL field. Athena will not alter the URL entered, so be sure it contains the appropriate protocol (http://, https://, ftp://, etc.). (e.g. http://www.uwec.edu).
NOTE: Generally, this should link to the venue's homepage.
- Fill in the Map Latitude and Map Longitude fields. This data will be important when using map visualizations and way-finding for visitors.
NOTE: Learn how to find the coordinates of a place using Google Maps.
- Select whether the venue is on-campus or off using the On Campus field.
- (Optional) Select or upload a new image.
NOTE: For help adding a new image, see Adding anImage, EditingImage Properties, and Cropping an Image.
- Click Create Venue.
